Search This Blog

Showing posts with label recipe. Show all posts

Friday, 28 September 2018

Homemade Frozen Pizza and the 80/20 Rule


#becausesoccer #becauseparkour #becauseholisticnutrition

Ok, wait a minute? Because Holistic Nutrition??!  I made a frozen pizza, with ooey gooey cheese and a homemade pizza crust, processed meat, packed with gluten and all of the ingredients that we’re so often told to avoid?  Yes. Why? I have kids and kids love pizza.  Who doesn’t?  I love pizza.  Also, I love balance, an 80/20 Balance.  This recipe can be filed under my 20%  and served up with a great big, delicious salad (good choices like that make up the 80%). 

The last time I made pizza, I made way too much dough!!!  I could have made up an extra pizza and served it up for kids lunches all week but that doesn’t pair well with the 80/20 rule.  That’s when I decided it was time to make my own homemade convenience food.  I’ve been experimenting with this idea in my kitchen lately; I’ll write up my homemade chicken fingers and my frozen cookie dough at a later date.  

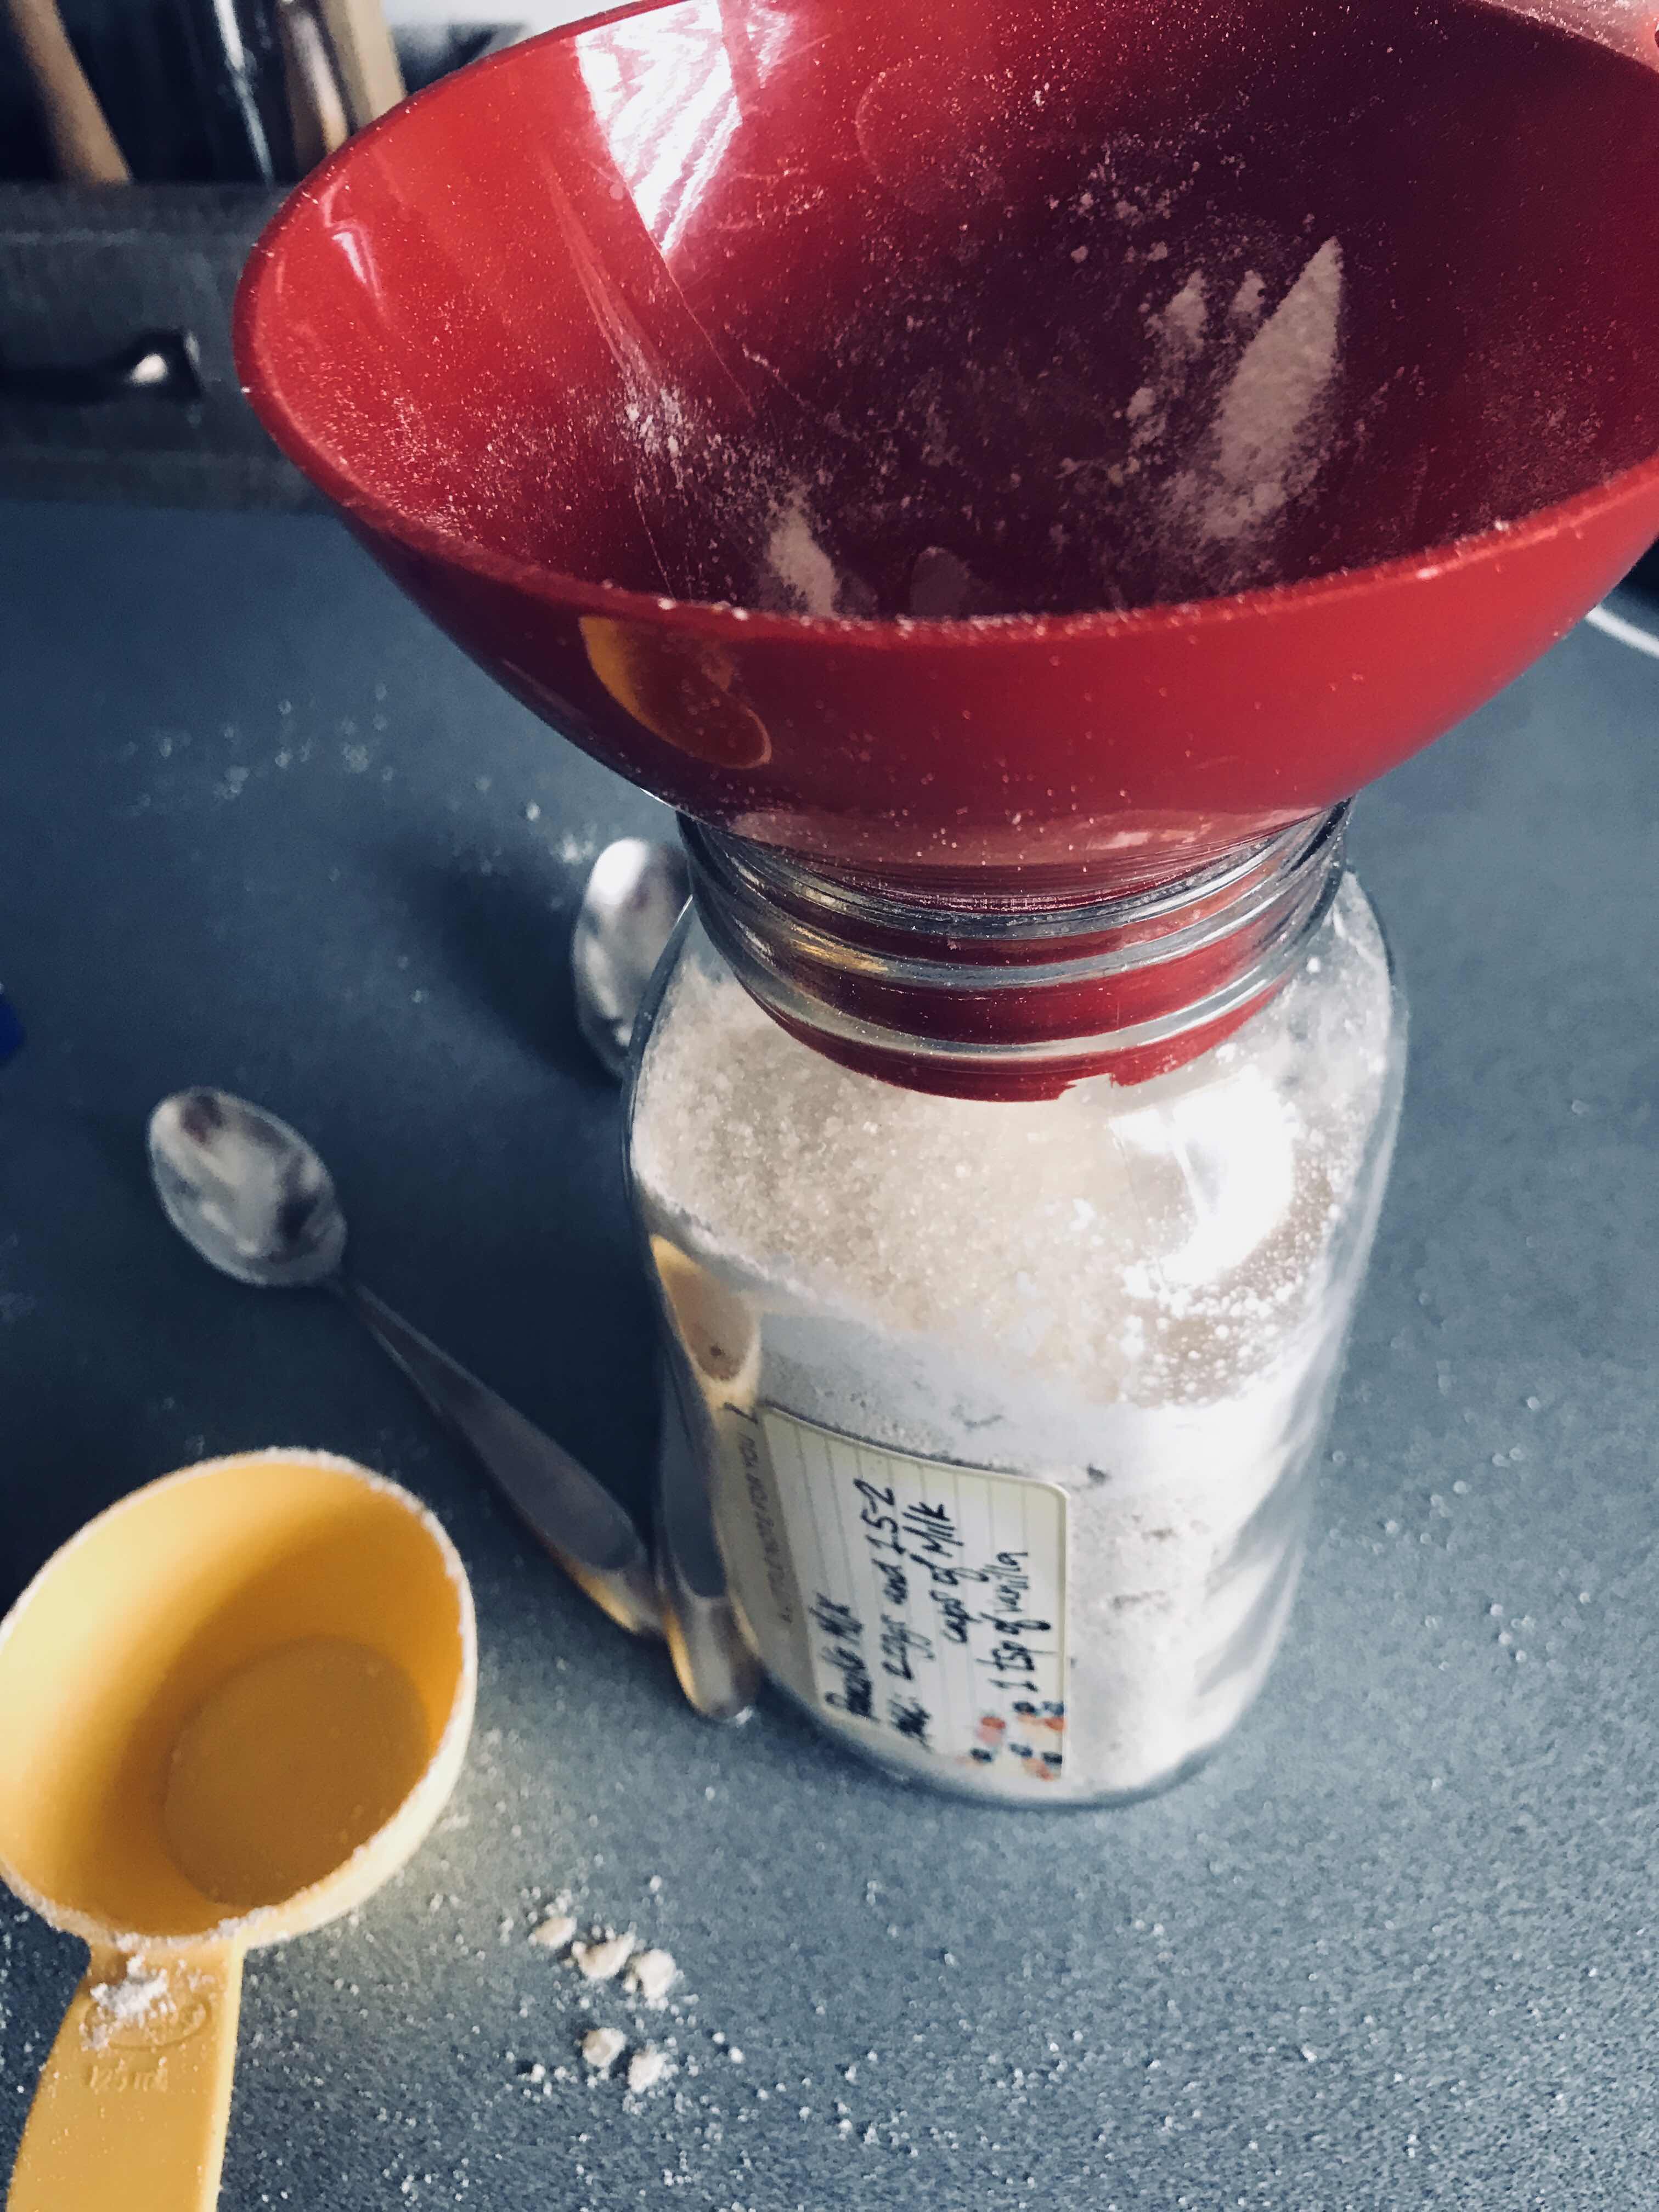
I’m busy lately, studying like a big, awesome nerd at my kitchen table.  As a result, my kids have had to step up their household contributions.  I honestly don’t remember the last load of laundry I did, thanks to my amazing teenage daughter and my son has become quite brilliant with a vacuum and mop. These are all life skills that my kids have helped out with from time to time but now that I’m back in school, these chores have been assigned as expectations.  My list of chores still includes supplying delicious and well balanced meals for the family, regardless of how busy I feel. I do feel that kids belong in the kitchen; so I often ask for their help around dinner time, especially, if I have something easy prepped with which that they can help. I have always done a fair amount of food prep on the weekends; that habit has taken on a life of its own. Throughout the course of the weekend, I aim to make an extra meal for later in the week, I cook up a meat that can be used for sandwiches (usually a roasted chicken or a beef roast served with all of the fixings, on Sunday), a bone broth, if I’m really ambitious, a soup with the bone broth, a salad dressing and if I have time, a bread or a muffin. Two weeks ago I made pizza for dinner with my favourite pizza dough recipe:


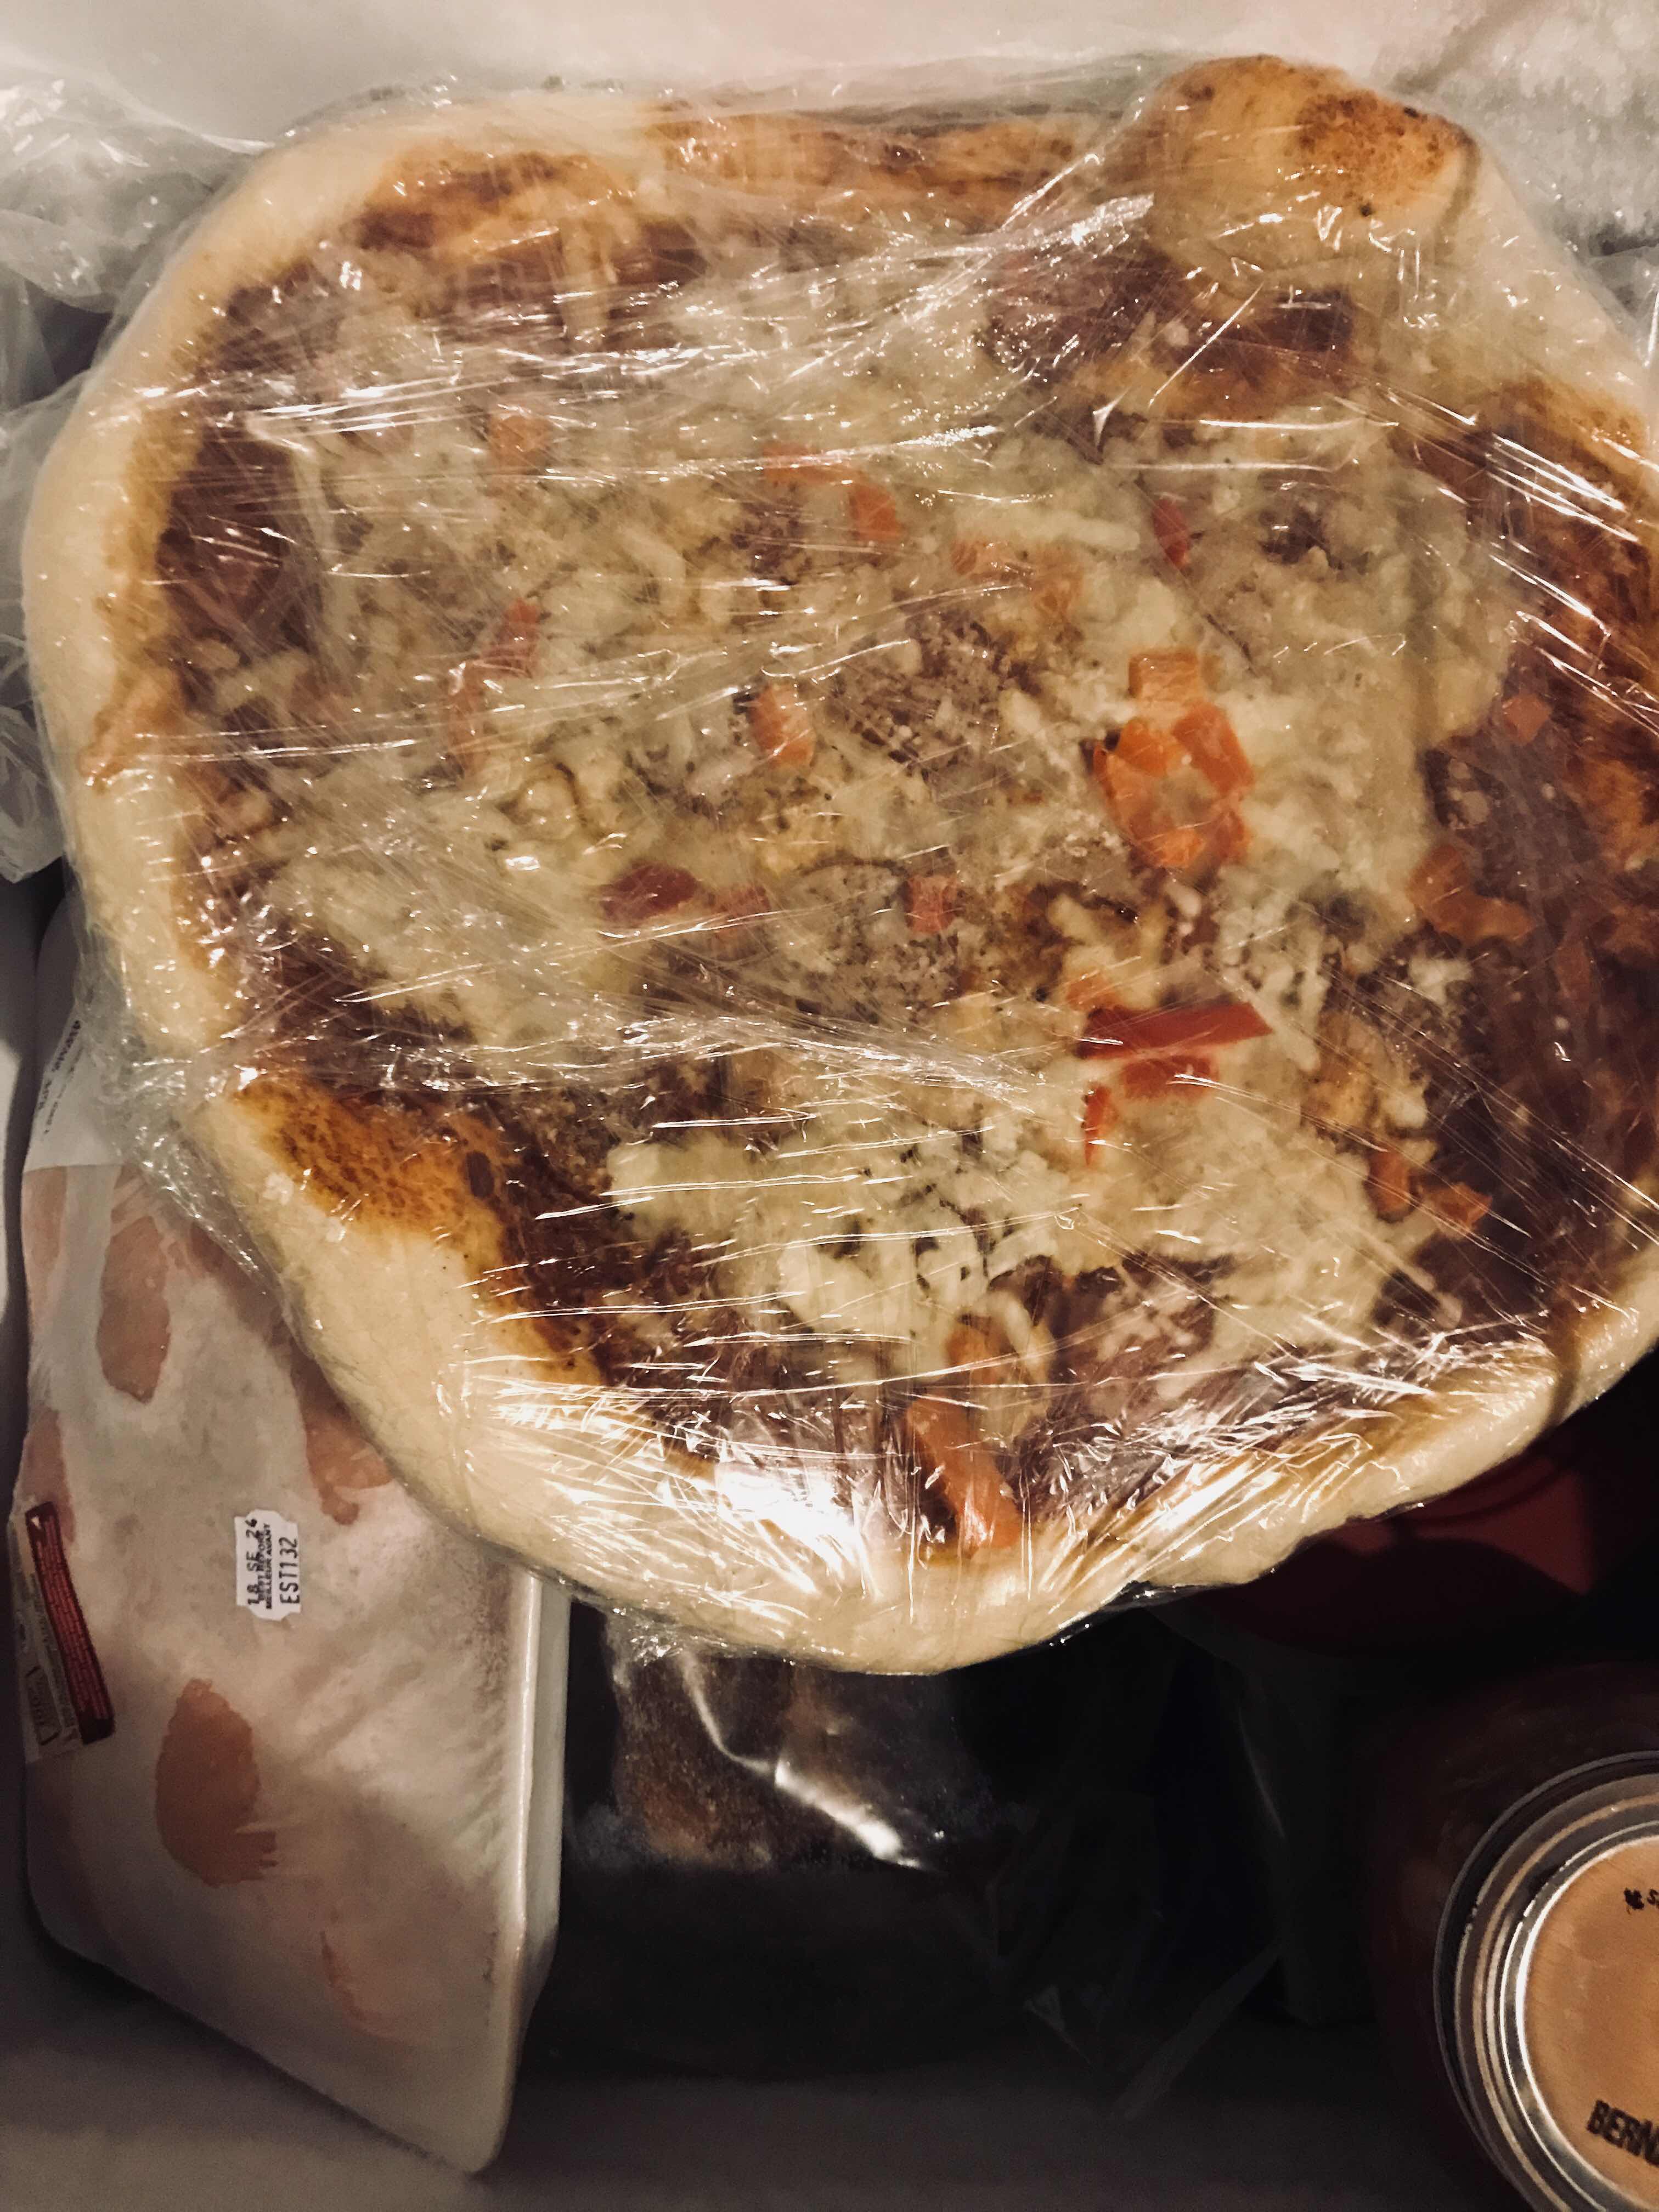
We enjoyed two pizzas for a dinner on a Friday night and I prepped the third, with my homemade pizza sauce, a lactose free mozzarella and some parmesan cheese, pepperoni and peppers. Once prepped, I popped it into the oven, while we ate.  I didn’t want to fully cook the final pizza, just pre-bake it long enough to melt the cheese for easier freezing.  I set the oven to 350 F and baked for 10 minutes. When I pulled my half baked pizza out of the oven, it looked like this:


I allowed it to cool, for about 20 minutes, before I placed it in the freezer on a cookie sheet.  Once it was completely frozen, I wrapped it with plastic wrap.


When my pizza was completely wrapped, I returned it to its place in my deep freeze.  This crowd pleaser is currently awaiting a busy night, when I have to study, my daughter has soccer and my son has parkour.  The kids can pop it into the oven at 350 F for 20-25 minutes and serve it with a delicious side salad or cut veggies and possibly a glass of red wine for this mama!  It’s convenience food but convenience food that is going to properly feed my family with no extra additives.  That fits within my realm of 80/20.


Thanks for taking the time to read this post!  Please feel free to comment below if you have any comments, questions, concerns, or if you just liked this blog.


Sunday, 29 July 2018

Slow Play Sunday Morning Gluten Free Pancakes


Yum!  That’s where I’m going start this blog...Yum!  My kids love pancakes, who doesn’t? They love fluffy pancakes made from all purpose flour; again, who doesn’t?  In an effort to increase my family’s fibre intake, however, I have been playing with alternative flours.  I have to be honest, whole wheat flour doesn’t appeal to my kids pallet, also, if I’m changing out my flour, I’d like to reduce the amount of gluten we’re consuming.  No one in my family struggles with gluten but there have been so many documented health problems related to mass wheat production and gluten issues in today’s society, I feel like a reduction is not going to hurt anyone in my household.  They can still have their Mac N’ Cheese but they don’t need to be consuming gluten three times a day.  I’m a firm believer in the old mantra “Moderation is the key.”

Oat flour is delicious, made from a whole grain; higher in protein and healthy fats and lower in carbs than many other grains. Oats also contain more soluble fibre than any other grains.  Plus, they’re gluten free.  Not convinced yet?  Oats contain Beta-glucans which have been shown to reduce the risk of heart disease, high cholesterol and high blood pressure.  Also, diets high in fibre show an increase in the appetite controlling substance, Peptide Y-Y.  This chemical sends a message to the brain to tell it when the stomach is full and encourages the body to stop eating.  I researched this flour, which is readily converted to complete many of your favourite all purpose flour recipes and decided that it should find a home in my pancake recipe.  I do find oat flour requires some extra liquid in a recipe than its wheat counterparts, it’s certainly not a straight conversion with wheat flour but there are many resources on line to assist you in this process.

I have been mixing up my dry ingredients ahead of time to reduce my kitchen time and maximize my sleep time.  Sundays have become very busy for us, we often have kids in two different directions by 10am.  A Bit of Convenience goes a long way for me...unfortunately, I trust almost no food manufacturing companies, pre-made muffins and waffles are not an option in my household.  I had to figure something out because I hate feeling stressed on Sunday morning. I have always thrived in slow-playing Sunday.  This relaxing morning sets me up for the busy week ahead.  On meal prep days, I now take a few moments to throw together a mix or a special seasoning in a mason jar.  My pancake mix is always stocked and has a permanent home on my shelf.


I often mix the dry ingredients into the same mason jar that I just dumped into my mixer, as I clean my kitchen.  It takes moments, but moments, when I have them.  The idea of getting up on Sunday and pulling out my flour and baking powder makes me throw a piece of toast into the toaster.


Dry Ingredients:

2 cups of oatmeal flour
1 tsp of sea salt
2 tbsps of cane sugar
4 tsps of baking powder


I dump all of those ingredients into a mason jar, twist the lid on and shake. That mason jar finds a place on my shelf until the next time I feel ambitious enough to make some high fibre, satiating pancakes.  When I’m ready to make my pancakes, I add the entire jar of mix along with 2 eggs, 1.5 cups of milk or milk substitute (coconut milk is my personal fave) and on tsp of vanilla to my mixer. As soon as the pancakes are ready, I use a ladle to drop pancakes onto a non-stick pan.


I cook over medium heat.  When bubbles appear on the raw side, its time to flip and cook for 2 more minutes.


I can only cook three pancakes at a time on my pan so I drop them into a casserole dish into my warm oven until I’m ready to serve.


Half Blueberry and Half Plain Pancakes is the winning batch in my household.  The leftover pancakes freeze beautifully and make an even quicker breakfast for later in the week!


That’s it for my Slow Play Sunday Blog!  I hope you’ll try these pancakes, I know I love them and just two makes me feel full for hours.  Thanks for reading! Please feel free to comment below with any questions, concerns or if you just liked this blog!


Wednesday, 30 May 2018

You’ll Totally Love These Eggplant Recipes


melsbigideas.blogspot.ca


It’s an eggplant kind of day!!  When I started out cooking this afternoon, I was trying use up some left over Bolognese Sauce.  In effort to eat “veggie most dinners,” I’ve been experimenting in the kitchen. Recently, I have enjoyed Portobello Pizzas and Lasagnes, Cauliflower Rice with Deconstructed Egg Rolls and Roasted Spicy Chic Peas with Garlic Sauce and Avocado. I’m in heaven!!  I don’t know why I haven’t thought to do this sooner?  I love vegetables; but if you don’t, adding lots of extra flavours and textures to your veggies might just get you to increase the amount of fibre on your plate.  Vegetables fill us up, they give us sustainable energy and they help to keep us regular.  I’ve ditched my starchy carbs at dinner and traded them in for some of these delightful treats.  Best news? In two weeks, I’m down 4lbs, it seems we don’t need a heavy carb load in the evening, right before we head to bed; save that for the morning when we require energy for the entire day!


Today started out as a “clean the fridge kind of day” and ended with some very exciting and delicious meals.  I had a big, beautiful eggplant on hand. An eggplant can sit on your counter for a few weeks while you decide how you’d like to use it. They’re loaded with many nutrients and and vitamins, including Vitamin C and K; they contain magnesium, copper, folic acid and lots of dietary fibre.  They absorb flavours from marinades and sauces and blend well into meat or vegetarian dishes.  The trick to cooking eggplant as far as I am concerned, is uniform sized slices.  I’m not one to brag about my knifing skills so a kitchen mandolin is a necessity for me. I can get pretty easily overwhelmed by the texture and flavour of eggplant.  As a result, I tend to use thinly sliced portions for my recipes. Today, I sliced the whole eggplant, only to discover that I did not have enough left over bolognese sauce to accommodate my number of eggplant slices. Enter new recipe...a hybrid, if you will, an old chic pea favourite that I whip up regularly; this time with eggplant instead of chic peas.  It worked out beautifully.


Eggplant with Feta and Tomatoes


Half an Eggplant
2 tbsps of Garlic Olive Oil
1 Tbsp of Red Wine Vinegar
1 Tbsp of Olive Brine
3 Black Olives, finely chopped
1 tsp of dried oregano
1/2 tsp of Incan Fire Salt (Cayenne Pepper, Salt and Cumin)
1 Roma Tomato, sliced
1/3 of a cup of Feta Cheese
Pepper to taste

Directions:

Slice half an Eggplant with a kitchen mandolin. 

Line the bottom of a casserole dish with the Eggplant Slices.

Drizzle the slices of Eggplant with Olive Oil, Red Wine Vinegar and and Olive Brine. 

Pit and finely chop 3 olives, sprinkle over the Eggplant Slices. 

Season with Pepper and Incan Fire Salt. 

Bake at 350 F for 12 minutes add Sliced Tomatoes, and Feta along with Oregano and bake for an additional 5 minutes. 

Serve with Fresh Parsley or Raw Baby Asparagus (which I found in my garden today) and drizzle with balsamic reduction. 


If you enjoy this recipe, try my favourite Chic Pea Dip, which is a constant staple in my home.  You can find the link here


I did tell you I made two recipes today...here’s the other twist on my Eggplant Slices...

Eggplant Bolognese


1/2 and Eggplant, sliced with a kitchen mandolin
1-1.5 cups of Bolognese Sauce
1 tbsp of Garlic Olive Oil
1 cup of shredded cheese, I used Fontina and Parmesan

Directions:

Slice half an Eggplant with a mandolin. 

Layer the bottom of a small casserole dish with your Eggplant Slices. 

Drizzle with Olive Oil, salt and pepper.

Cover with Bolognese Sauce. 

Add a second layer of Eggplant Slices and cover with Bolognese Sauce. 

Top with your favourite Cheese Blend.  I use Fontina as it is Lactose Free and melts up just beautifully.

Salt and Pepper the top of the casserole. 

Bake at 350 F for 30-35 minutes. 

Serve with Salad and Enjoy!


Thanks for taking the time to read this article and I wish you luck if you decide on an Eggplant Adventure in your kitchen!  Please feel free to comment below with any questions, concerns or if you just liked this Big Idea!!


Sunday, 25 February 2018

The Joy of Sourdough English Muffins


We all know its the simple things that bring joy to our lives, but what does that really mean?  Personally, I feel that joy hides out in the most unexpected places.  Joy is simple to miss, it’ll pass you by if you’re not looking for it.  I’ve missed it, many times; I have chosen to live in the negative.  I have focused on the bad behaviours, the messy kitchen, my kid’s bad choices, my bad choices.  Joy is a choice.  It’s the dancing in the kitchen; forgetting your chores for a few moments, giggling on the phone, hugging your kids, doing something that you love.  I love baking and crafting. There is joy in creativity. 

This week I found creativity and joy in my Sourdough English Muffins.  I make these often.  I love them, my kids love them.  They make the whole family happy.  They taste so much better than the store bought version. I call them my English Muffins, which is technically unfair, as they’re a recipe I found on Jonesin’ for Taste’s Blog. You can find the complete recipe at this link:


There is, however, significance in my ownership of this recipe. I have made it so many times that I use the blog post as a reference. I know what I need to add and when I need to add it; its simple.  It takes time and patience to complete.  I hit my “Flow” when I mix the ingredients together, as I roll the dough and sprinkle the cornmeal.  I don’t need to think, I just simply do, that’s the Flow I speak of, baking becomes a meditation of sorts. I take the joy; I eat it up! I ignore the frustrations of life, as I create something beautiful, I allow it to warm my soul.  That’s the trick to joy, you need to accept it.


The ingredients are simple, wholesome and I get to use my sourdough starter.  My starter, which I affectionately call Ramona, has received my love and care throughout the past two years.  I have personified Ramona, honestly, she has to be the most giving pet I have ever owned. If you don’t have a sourdough starter, I would totally recommend starting one of your own. I have added a link to my sourdough article here:


Sourdough English Muffins 

1/2 Cup Sourdough Starter
1 Cup of Milk
2 Cups of Organic All Purpose Flour

Mix these three ingredients together in a large bowl.  Once combined, cover with plastic wrap and allow to rest at room temperature for at least 8 hours or overnight. 

Once your dough has rested overnight, add an additional:

3/4 Cup of Organic All Purpose Flour
1 Tbsp of Sugar 
3/4 Tbsp of Ground Sea Salt
1 Tsp of Baking Soda

Once your ingredients are fully combined, drop your dough onto a lightly floured surface and knead for 4-5 minutes.

Roll your dough out to 3/4 of an inch and begin cutting with either a wide mouth mason jar or a large glass.

Line a cookie sheet with a piece of parchment paper.  Sprinkle the paper with cornmeal.  

As your English Muffins are cut, drop them onto the lined cookie sheets; flip to coat both sides with cornmeal. 

Make sure to space them properly on your cornmeal and parchment lined cookie sheet, as they will increase in size during your rise.

When your cookie sheet is full, cover with plastic wrap and place in a warm area to rise.

Allow your muffins to rise at least 45 minutes before cooking.

You can re-roll your scraps to cut additional English Muffins but the dough requires at least 10 minutes rise time between each cutting. 

I typically get 10-12 English Muffins out of this recipe; if you require more, the recipe doubles well and freezes beautifully.

To cook your English Muffins, lightly oil a frying pan, cook over medium heat for approximately 4 minutes per side.

Enjoy them toasted with jam, peanut butter, almond butter or as an “over-the-top” delicious egg sandwich.  

The greatest excitement I experience while making these Sourdough English Muffins is how amazing they look. The first time I made them, I pulled them off of the pan as I giggled hysterically.  They looked like English Muffins. Real English Muffins. I had made something that I could buy at a store. They looked Professional.  Who knew you could make English Muffins?  Preservative Free English Muffins.  It turns out you can make English Muffins. If you decide to make them; you too should enjoy every moment of the process. Once your soul is fed, gobble one up and feed your tummy too. 


Thanks for taking the time to read this article. Feel free to comment below with any questions, concerns or if you just liked this Big Idea!! 


Tuesday, 19 September 2017

Back to School. Back to Routine.

How do you get ready for back to school? This is a question I asked myself repeatedly, in August. How do you ready yourself? Ready your kids? Welcome routine back into your life? I welcomed school somewhat reluctantly this year. I had an amazing Summer Holiday.  We travelled, we played on the beach, we visited wineries, we stayed up late, we slept in, we basically did everything that we never get to do on a regular basis. I enjoyed time with friends, family and lots of quiet evenings with my husband. It was a dream. 

How do you start back to school after a Summer like that? You throw yourself into it! Routine is good for the soul. A little bit of order never hurt anyone. Book the appointments you've been avoiding, get your kids cool "first day of school outfits" and if you're like me, you start cooking! 


I'm not sure why I feel like preparedness is directly related to how many delicious meals I have prepped in my freezer, but I do. My mom always made wonderfully, delicious food for myself and my siblings while I was growing up. I like to do the same for my kids. 

If you think this blog is going to be about school lunches, you're absolutely right! I hate making lunches!!! I secretly think all moms do.

I tend to batch cook and force my kids to pack their own lunches.  I'm not a fan of sandwich meat but my kids love sandwiches. My solution...cooked chicken breasts. I season with salt, pepper, oregano and roast them in the oven for about 20 minutes at 350 F. 


After they cool, I slice them and pack into small sandwich bags. I store the prepared chicken in the freezer and thaw for sandwiches, as needed. 


As my kids pack their own lunches, I find providing them with lots of healthy options and allowing them the ability to choose makes for fewer fights. It also teaches them about healthy living and good choices. On that note, my kids love treats in their lunches because they are human.  They love to snack on muffins, which I encourage as opposed to over the counter "lunchbox treats." Their favourite muffins are banana, I've added a link to my recipe below. 


A close second favourite would be blueberry muffins. I had hoped to find time to throw together blueberry muffins before school started. Especially, after I found organic blueberries on sale...I didn't find the time, so I washed them, dried them...


and packed them into 1 cup servings, which I placed in the freezer. 


I'll bake muffins at another point. It's totally worth it to purchase fruits and veggies at the height of their season and freeze. These fruits and veggies are going to be as nutritionally rich as possible and typically more affordable, than in the winter. Freezing them allows you to access the wonderful benefits of this fruit, at a later date. 

Finally, my kids love tiny casseroles in their lunches and they couldn't be easier to produce!  I always double or triple batch my pasta sauce. Leftover bolognese never goes astray in my household. One of the absolute favourite lunch casseroles in my house is lazy lasagne!!


I let the kids choose their favourite noodle, grate some mozzarella and parmesan and mix with leftover sauce. These casseroles are baked in mammoth muffin tins, and smothered in melty cheese. They are baked at 350F for 15-20 minutes. 


Once they are removed from the oven, you allow them to completely cool and then freeze in the muffin tins. Once frozen they are easily removed from the pan. 


I store them in a ziplock bag, in the freezer until we're ready to pack lunches. 


It couldn't be easier to defrost in the fridge overnight and quickly re-heat in the morning, before school. My kids pack these yummy lunches into a thermos in the morning and gobble them up at lunch! Imagine, all of that was accomplished on a Sunday afternoon. Then school started and it took almost until October to post!!!  Ahhh...back to school! Hope you're all surviving! 

Thanks for reading! If you have any questions or concerns, or you just liked this Big Idea, feel free to comment below! 


Thursday, 17 August 2017

Pizza Biscuits. A Happy Accident.


Have you ever completely messed up a recipe? Something that you make all of the time? Something that takes too much to just toss it in it in the garbage bin? That's exactly what I did here. Instead of throwing out my yummy biscuits which I had completely burned...I made pizza biscuits. They turned out great...let's call them a Happy Accident. 

Every time I set out to make my homemade biscuits, this is my mission...


Delicious, warm, buttery biscuits, served with homemade jam.  This is how they turned out...


What the heck!?! In the midst of packing chaos, play dates and busy children, I forgot about my biscuits. They still took time and effort to make. I simply couldn't toss them. I couldn't eat them either...not without slicing the tops off and feeling disappointed with my latest kitchen creation. That's when inspiration struck!


Pizza biscuits! Good bye overly browned biscuit tops. 


I quickly smeared my favourite pizza sauce on to my topless biscuits and then sprinkled with a healthy dose of oregano. 


Mmmmmm...I topped each biscuit with a slice of mozzarella and felt pleased with myself. I was turning a failure into a success. 


I popped those suckers in the oven at 375 F and trusted my nose when they smelled just right. About 8-10 minutes. I served these with a side salad for lunch...the reviews were fantastic. Loved by all, kids adults, even the dog! Best part...I didn't have to throw my hard work in the garbage. 

We're so quick to toss out our mistakes; old items we find around our house, things that seem ugly, useless or just plain burnt.  Don't miss out on that positive moment when you can find goodness in an old item; or take something broken, and make it new again. I love to breathe new life into mistakes, eyesores or accidents. This recipe worked out well...if you want to make your own biscuits, please follow this link:


You can pay attention to your biscuits and enjoy them warm at breakfast with melty butter and jam, or burnt and modified into pizza buns at lunch. Regardless, enjoy them!

Thanks for reading! If you have any questions, comments, or you just liked this Big Idea, feel free to comment below. 

Saturday, 29 July 2017

Simple Summer Chicken Pasta


Maybe it's just me but Summertime makes me crave simple ingredients and lots of veggies! Grocery stores and markets are absolutely stocked with delicious, fresh fruits and vegetables at this time of the year. Summer also makes me feel like spending less time in the kitchen, so my recipes must be quick! 
 

This is a quick pasta that I often make and serve with a salad. You can use virtually any vegetables you find in your fridge, carrots are always a nice addition; not featured in this recipe, as I didn't have them in hand.  My staple ingredients for this pasta are mushrooms, zucchini, shallots, garlic, parsley or any other fresh herb, along with parmesan cheese and tomatoes. Sun dried tomatoes are featured in this particular version but honestly, whatever you have in your fridge will do!  If you'd like to whip up your own sun dried tomatoes, follow this link:


I always start "kid friendly pastas" with a mix of shallots and garlic, in butter and olive oil. Shallots have a more subtle taste than onions, my kids are particularly accepting of them. I then I add mushrooms and meat, in this case, chicken thighs. 


Once my flavours blend and my chicken cooks, I begin to add additional ingredients. In a separate pot, I boil noodles in salted water. The starchy, salted water will help to stretch our  sauce, two ladles should be fine, if you're worried about not having enough to dress your pasta, set some aside. If you'd rather skip the starch, chicken broth works extremely well in place of the salted water. Though doesn't stick quite the same way to your noodles! 


Zucchini doesn't need to cook for very long, so quickly mix it into the pot and begin to add the rest of your ingredients.  This should be completed after the shallots, garlic, mushrooms and chicken are completely cooked. If you're adding carrots, be sure to add them at the first addition. Hard veggies and vegetables you'd like to cook down, like onions, add first. Anything that cooks quickly must be added toward the end of your cooking time. This way, your pasta will be filled textured vegetables, which adds interest and palatability to your dish. Lastly, add your cheese, fresh herbs and tomatoes, sun dried or otherwise. 


I always toss my unrinsed noodles directly in with my veggies, sauce and additional olive oil on the stove top. After a crack of fresh pepper, I love to serve this meal "family style" at the table from a large serving bowl or straight from the pot!


Simple, quick, delicious; that's my kind of fast food!!! Thanks for reading! Please feel free to comment below if you have any questions, concerns or if you just liked this Big Idea!!


Thursday, 15 June 2017

'Tis Taco Tuesday!!!!


'Tis Taco Tuesday!!!  Ok, it's not, but it was!!!  As always, it was a hit in my home!!  My kids LOVE tacos. One problem, I hate premade seasonings. I do not trust large companies to make the right choices for my family. Taco seasoning is intended to sit on the shelf for years. Years!!  In order to do that, companies load their seasonings with preservatives and sodium. Preservatives wreak havoc on the digestive tract and sodium leads to nothing better than heart disease. 

It was under this circumstance that I set out on a journey. A journey to perfect my homemade taco seasoning. I think I've done it!  So do my kids. 


If it was good enough to write in this book and draw a tiny picture of a taco, I think it's worth sharing! 

Mel's Homemade Taco Seasoning

2 tbsp of Chili Powder
1 tsp of Garlic Powder
1 tsp of Onion Powder
1/4 tsp of Crushed Red Pepper or Chili Flakes 
1/2 tsp of Dried Oregano 
1 tbsp of Cumin
1 tsp of Ground Sea Salt
1 tsp of Black Pepper

Mix this list of ingredients together in a resealable container. It makes about 4 heaping tablespoons of seasoning which is plenty for two batches of tacos. One batch today and one for your next Taco Tuesday. 

Instructions:

In a pan, fry your chosen ground meat: beef, chicken, veggie ground, bison, elk, whatever your family prefers. I mix it up and serve different types of tacos every week. Once your meat is browned, add two heaping tablespoons of seasoning and half a cup of water to your pan. Allow ingredients time to marry and  the water to evaporate. Serve with your favourite taco toppings and hard or soft shells. I often choose lettuce as a delicious wrapping option. Pictured below are my chicken tacos with corn tortillas. Mmmmm


When time allows, I love to make my own homemade tortillas. I have placed a link, to my favourite recipe below:


I always make my tortillas with avocado oil. The trick to a really good homemade tortilla is to not over cook them!! You want them soft and rollable! 

My absolute favourite part of Taco Tuesday, other than providing my kids with a healthy meal that they can both gobble up before evening activities, is the Taco Salad I eat for lunch on Wednesday. A Taco Salad, topped with my favourite salad topping...Fritos. Yup. Fritos. 


Thanks for taking the time to read this post. I hope it inspires you to try a new recipe; to take control away from big companies and mix up your own seasonings. Open your spice drawer and think creatively. You won't regret it!  Making your own taco seasoning takes almost the same amount of time to mix up as it does to tear into a premade envelope and it's much healthier for you and your family. 

Feel free to comment below if you have any questions, concerns or you just liked this Big Idea!

Thursday, 18 May 2017

Pizza, garlic fingers and salad


All good pizzas start with a good crust. A foundation, a  bit of chewy, bready goodness. The same rule applies with garlic fingers. I grew up on the east coast of Canada where garlic fingers are staple.  Many, many nights of drunken debauchery ended with the consumption of a large garlic fingers. Some might even consider said consumption a preventive measure to avoid an inevitable hang over. After university, I moved to western Canada. A place where garlic fingers did not exist.  Seems like reason enough to pack up and move back home! Or learn how to make them really well. Get all of your westerner friends hooked on them. Teach them about the life force that exists in a pan of garlic fingers. This girl was up for the challenge! 

The link below is my current favourite pizza crust. It is an amazing, no fail crust that comes together very quickly; within 2 hours.  


If you're making pizza and garlic fingers, the above link is a good place to start. The recipe makes two really good sized crusts. 

Once your dough has risen, roll it out. Sprinkle your pizza stones with cornmeal and preheat your oven to 450 F. 

The other secret to a really good garlic fingers, is a delicious garlic butter, you can buy a store bought butter or whip one up on your own, this one is my go to!!  Swiss Butter House Ltd Garlic Lover's garlic butter is fantastically delicious!!  


My next tip for pizza and garlic fingers is to always mix your cheeses! My personal fave is mozzarella and parmesan. I always add half parm and half mozza for my garlic fingers. My pizza ratio is 3/4 mozza to 1/4 parmesan. Parmesan is so special on a pizza, it adds a big bold Italian flavour to your pizza, plus it helps with the browning of your cheese. 


When I make a pizza, there is only one true set of toppings for me. As I have already mentioned, I grew up on the east coast of Canada. In my home town when I order a pizza, I order a "Combination Pizza." The perfect combination. Pepperoni, mushrooms and green pepper. These flavours are so perfectly married that that East Coasters have aptly named this pizza Combination. Are there any other combinations? Sure, but not for this girl!

Once your toppings are prepped and your dough has been stretched and rolled out, place it on your pizza stone, which has been dusted with cornmeal. Add your favourite sauce (left over bolognese makes an extra special base sauce), your favourite toppings; feel free to venture away from "Combination," though I wouldn't recommend it, and bake for 18-20 minutes in your very hot oven! Make sure you cool your pizza and garlic fingers for a few moments before you cut. Otherwise your toppings slip around, although you may enjoy eating the cheese off of the closest slice, that slice becomes far less appealing to your friends and family without its toppings!!  I always serve my garlic fingers with either pizza sauce or donair sauce. The recipe below comes together quickly and easily. 


As always, serve with a salad. Half your plate people!!!  Veggies couldn't be more important!  Your body needs fibre. I quickly beefed up this Caesar Salad Kit with some chopped kale. Super delicious and nutritious!!  

This whole meal came together in two hours, before my kid's evening activities!  The reviews were fantastic! 

Thanks for reading! Few free to comment below with any questions, concerns or if you just liked this Big Idea!!

Wednesday, 17 May 2017

Sometimes Soccer Gets Cancelled: Perfect Potato Side Dish


Every once and a while you get a quick break. An unexpected break.  I got one tonight! My daughter has been playing soccer 5 times per week. It is fantastic for her health and we love to watch her practice and play, but on a cold and rainy day a cancelled practice is a treat! A treat for mom and dad with wine!!


My hubby and I have been exploring the Bordeaux region as of late, so we cracked this one and I cooked a roasted chicken, made up some gravy, baked some zucchini, tossed together a Greek Salad and served them with these fantastic potatoes!!


These potatoes are delicious, rustic and simple. Before you begin prepping, preheat your oven to 425F. 

Prepping these potatoes over the years, I have experienced a challenging moment or two. I absolutely hate when I cut straight through them. It totally ruins the presentation and is easier to do than you would expect! I have a trick!!! Much internet research has led me to this incredibly brilliant innovation. I cannot take the credit, nor can I remember where I picked up this handy trick but....


That's it! Chopsticks! They act as the perfect guide to assist in keeping your potatoes in tact! 


After your potatoes are sliced, add a healthy serving of butter to each potato, along with some salt and pepper. 


Bake for 20 minutes. Add more butter and some salt and pepper and cook for an additional 15-20 minutes. 


When the potatoes come out of the oven, feel free to sprinkle them with Parmesan Cheese and fresh herbs.  Tonight, I opted to keep them simple, as I was serving with a creole spiced chicken, garlic roasted zucchini and a Greek Salad. Seemed like I had enough going on!


There you go guys! I always say I'm a hyper hypo! Once again, I have provided proof.  As the oven was already on, I tossed some barbeque chicken legs in for the kids lunches.  Its like I love doing dishes or something...I do not. 

Thanks for reading!! If you have any questions, comments, or you just liked this Big Idea, feel free to post below!