
Yet another Valentine’s Day and more homemade valentines for my son’s class. He’s a happy boy again this year! Drew and I made our famous sugar cookies for his friends and packaged them up with his Valentine wishes. A classic wish from an 11 year old boy.... “From: Drew.” One of these days I’m hoping he becomes more verbose, but for now this will do!! We very sensibly froze the left over red icing from his Mario Muffin Cupcakes, after his birthday; yesterday, we thawed it out to sandwich between two of our heart shaped cookies.
The beauty of a classic Sugar Cookie recipe is it’s entirely versatile. Not only did I need to make treats for Drew’s class; I wanted to drop some goodies off to friends and prepare some treats for my thirteen year old daughter’s “Single Ladies Sleepover” on Valentine’s Day. Single Ladies Sleepover!?! Sometimes you just roll with your child’s requests. This mama is rolling...and secretly very happy that she’s not sneaking out to see boys on Valentine’s Day. Girl time sounds perfect to me!!!
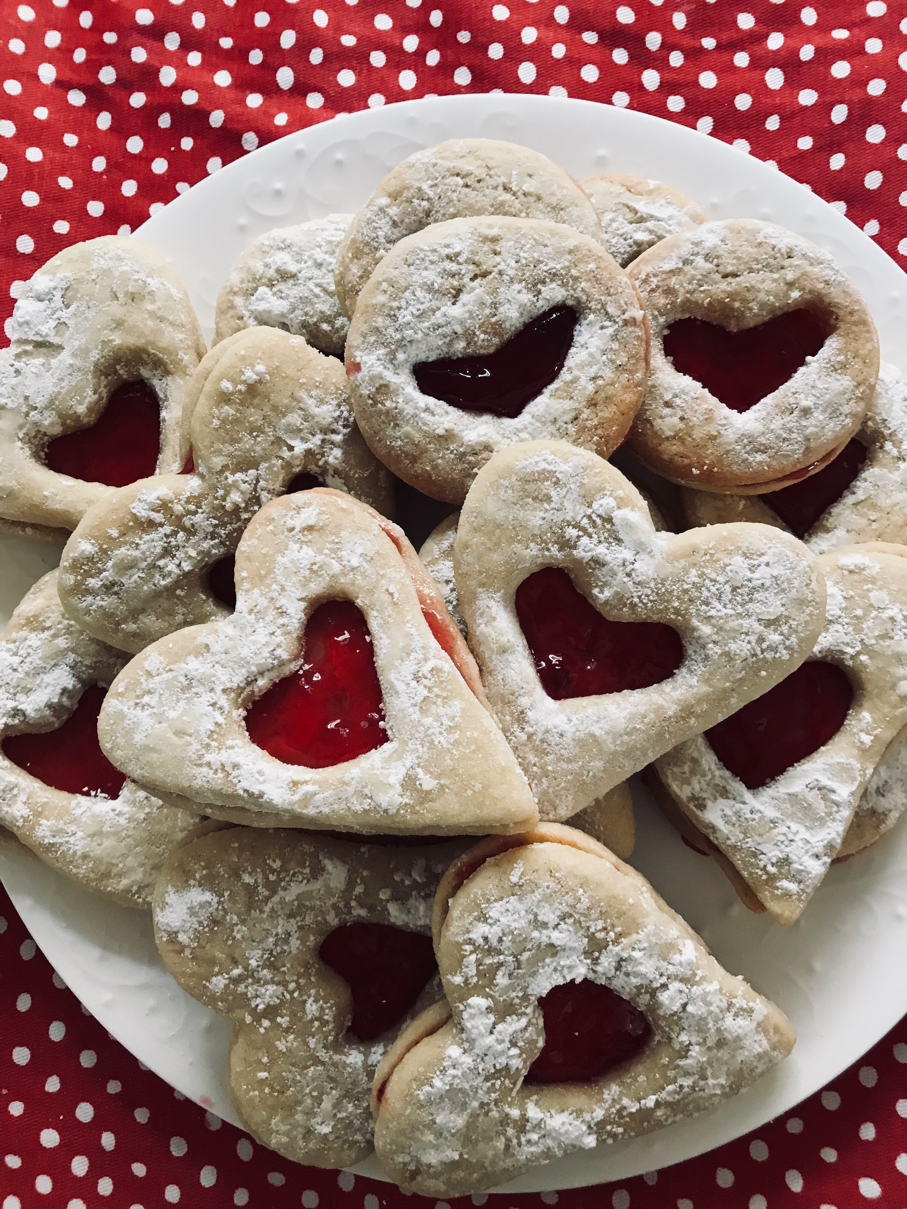
Mel and Drew’s Famous Sugar Cookies
1 Cup of Salted Butter
1 and a 1/2 Cups of Granulated Sugar
1/2 Cup of Brown Sugar
2 Eggs
2 Tsp of Baking Powder
3 and a 1/2 Cups of Flour
2 tbsp of Milk
1 tsp of Vanilla
1/2 tsp Salt
Cream wet ingredients.
Blend dry ingredients. Slowly add dry ingredients to wet.
Refrigerate for at least two hours.
When ready to start baking, preheat the oven to 350 F.
Roll out dough to 1/8”, on a well floured surface.
Use a cookie cutter to cut shapes and bake in the oven for 12-15 minutes, until golden brown on edges.
Allow cookies to cool on the cookie sheet for 2 minutes and then remove to a cooling rack.
If adding icing sugar to cookies, add after cookies have cooled on the pan for 2 minutes and then transfer to a cooling rack.
Makes approximately 48 cookies.

After your cookies have cooled, ice the bottom of one of them, generously.

Press together and Voila!! Cookie sandwich!! You can also use jam between your cookies, I used my homemade cherry jelly on some of my goodies. Please excuse my craft nails...I’ve painting green...lots of green...

Treat Toppers
If you’re making Treat Toppers, you can follow the following instructions. First of all, choose a reasealable bag that fits your treat. Measure the width of your bag and map out your plan on a white piece of card stock. I typically make toppers 3” tall, with a seam at 1.5”. The bags I’m working with are 4” wide.

Next design your topper, if you’re writing on both sides, one side will be upside down as you’re creating a folding seam in the centre.

Once your toppers are complete, you may now photocopy onto any colour of card stock you choose.

I photocopied onto grey card stock. Next, I trimmed the excess off of the edges and then I used a scoring blade to mark the toppers at 1.5”. I used my pre-drawn lines to cut them to 4” wide.

I adore inking, I love the dimension it adds to any project. In order to ink, you simply drag the edges of your project across an ink pad.

Feel free to add colour!! You can do this before or after photocopying. I used a red glaze pen to roughly colour the hearts, after photocopying as I enjoy the added texture and interest it provides. A glaze pen looks similar to a gel pen, until you use it!!! A glaze pen’s ink dries raised and shiny. Finally, fold toppers over the bags and staple.

I enjoy the staples from the Tim Holtz Tiny Attacher. They’re tea bag sized and so super cute!!
Thanks for reading. Feel free to comment below if you have any questions, concerns or just like this big idea!! Happy Valentine’s Day Everyone!
No comments:
Post a Comment